 |
|
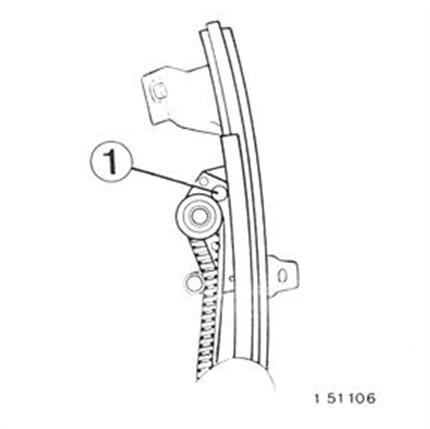
Unscrew locknut (1) and loosen the toothed drive belt. | 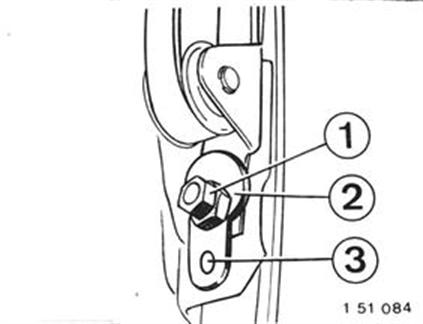 |
Remove retainer on shaft. Pull out shaft. Take roller out of the holder. | 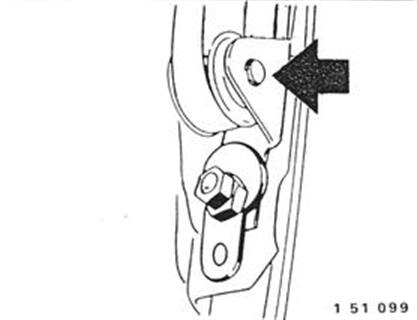 |
Unscrew nuts. Take off clamp. Remove the toothed drive belt. Installation: Tightening torque = 6 Nm (4.3 ft. lbs.). | 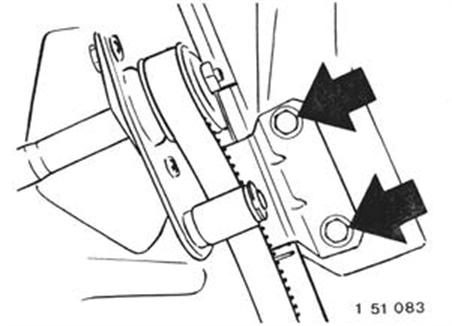 |
Installation: Install the toothed drive belt. Insert lower roller in the holder. Install the shaft. Install retainer. Install tensioning roller on the drive roller at the top. | |
Mount clamp in such a manner that the 1st tooth of the toothed drive belt (1) is aligned with the edge of holder (2). Tighten clamp. Tightening torque = 6 Nm (4.3 ft. lbs.). | 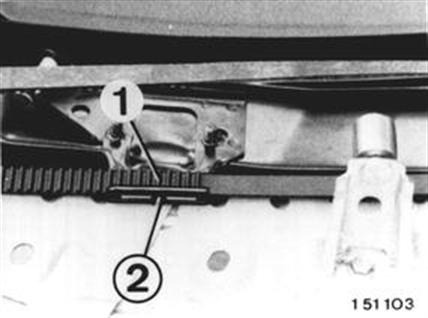 |
Adjustment: Tighten the toothed drive belt lightly with the eccentric bolt. Final tightening is performed after installation of the door. Adjust door in such a manner that the baseplate can be run without danger of knocking. | |
Caution! Danger of clamping. Supply 12 volts current to the door motor on the 2-pin plug (yellow). While running the door baseplate the toothed drive belt must not run on the sides of the upper and lower rollers. | 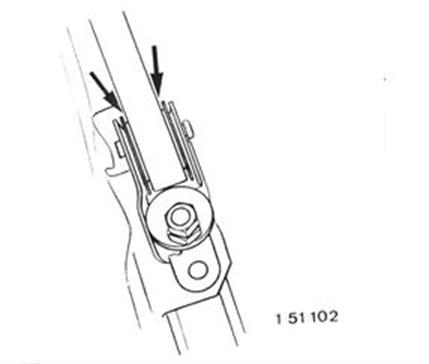 |
If necessary, straighten holders of tensioning rollers (1 and 2) with, for example, a pliers. | 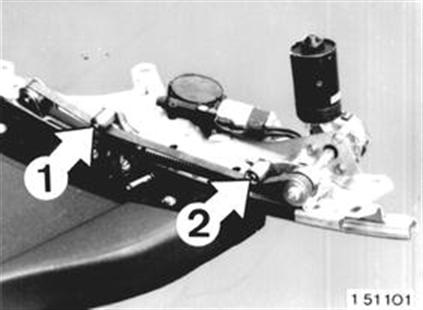 |
Maladjustment of the tensioning rollers will lead to premature toothed drive belt wear. |
 51 33 000