CHECKING MICROSWITCH FOR DOOR CONTROL Open top. Shut doors and lower door windows. | |
Slide left seat forward and open battery flap. | 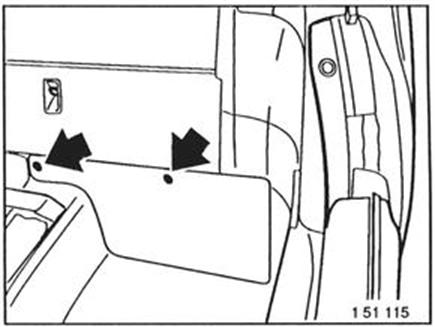 |
1 = Control unit for right door 2 = Control unit for left door | 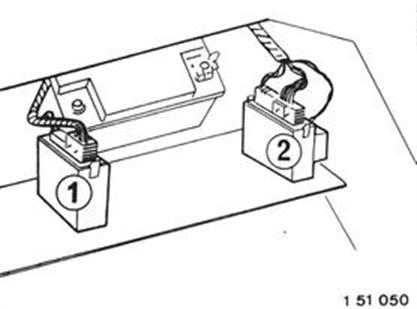 |
Adjusting Linkage for Left Door Push Button: Unlock plug on control unit (2). Adjusting Linkage for Right Door Push Button: Unlock plug on control unit (1). | 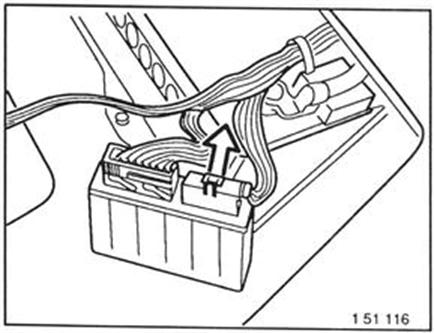 |
Pull 26-pin (white) plug off of control unit and connect on test box 61 1 459 using adapter lead 61 1 452. Caution! Don´t connect the control unit. | 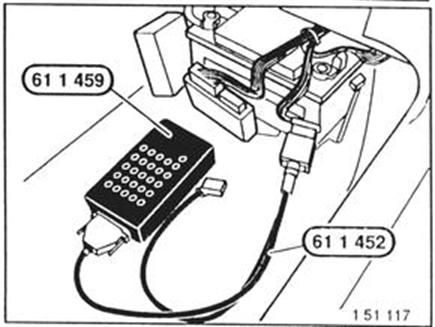 |
Connect microswitch tester 61 4 440 to car´s battery using red and black clips. Note: Check function of microswitch tester by holding yellow and blue plugs together => yellow LED must light up. Then hold green and blue plugs together => green LED must light up. Connect plugs (blue, green and yellow) on test box. Blue = Pin 26 Yellow = Pin 8 Green = Pin 4 | 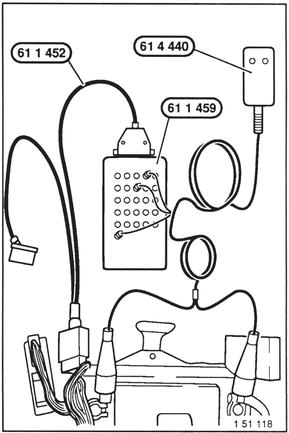 |
Press door oush button as far as stop. Both LEDs must light up. | 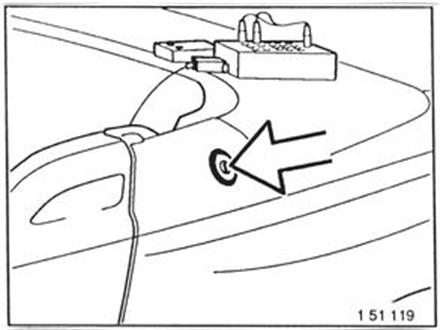 |
Release door push button slowly. Green LED must go out after travel (A) of 1 to 2 mm. Yellow LED must still be on. | 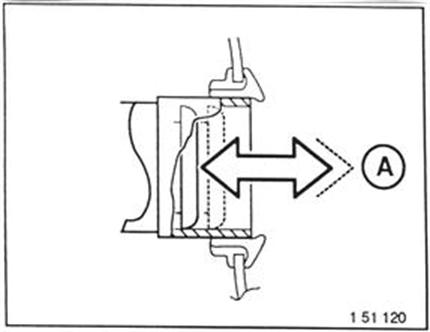 |
Press down on door by hand until the lock engages. Yellow LED must go out as lock engages. | 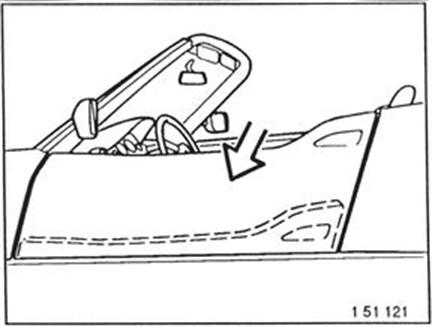 |
Press door push button as far as stop and hold in this position. In so doing pull up door approx. 20 mm. Both LEDs must light up as long as push button of door is pressed against stop. | 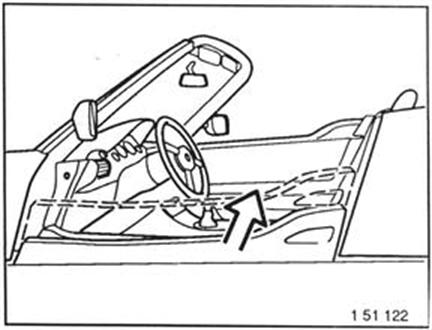 |
Release door push button slowly. Green LED must go out after travel (A) of 1 to 2 mm. Yellow LED must still be on. | |
Pull up door until lock engages. Yellow LED must go out as lock engages. | 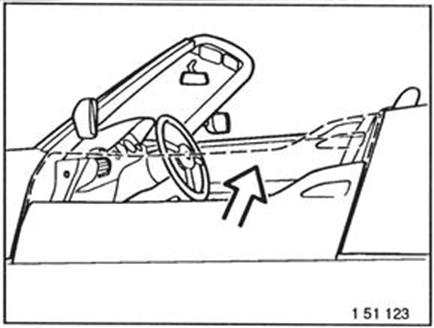 |
Disconnect microswitch tester, test box and adapter leads. Reconnect control unit plugs. |